Google Timesheet with Ubiqod
Effortlessly Transform Clocking Data into a Google Timesheet with Ubiqod
Transforming clocking data into a Google Timesheet with Google Sheets is a seamless process that takes less than 5 minutes. If you’re ready to jumpstart your experience with Ubiqod and Google Timesheet, follow our detailed tutorial to get started.
For an enhanced experience, consider exploring the Skiply Timesheet App for Google Workplace. This app offers a comprehensive solution for free, although it may require a bit more effort to configure for those new to the platform.
Google Timesheet for deskless workers
This guide provides a step-by-step tutorial on creating a mobile phone interface for field workers. This interface enables workers to clock in and out by scanning a standard QR code. The method is applicable whether you’re using our secure QR code or an NFC/RFID time clock.
For workers, the process is straightforward:
Scan the QR code upon arrival at the site.
Choose the ‘clock in’ or ‘clock out’ option on your smartphone.
Verify your identity with a personal PIN code or a QR code badge.
Additionally, the system can be configured in kiosk mode for even more convenience.
Before You Begin: Prerequisites
To follow this tutorial, you’ll need:
To create an Ubiqod account, which gives you 100 free Ubiqoins to test the app.
A Google account for using Google Sheets. If you don’t have one yet, sign up for free here.
Creating your Google Timesheet
Start by creating a new spreadsheet in Google Sheets.
You can customize your timesheet by adding columns to track various data points:
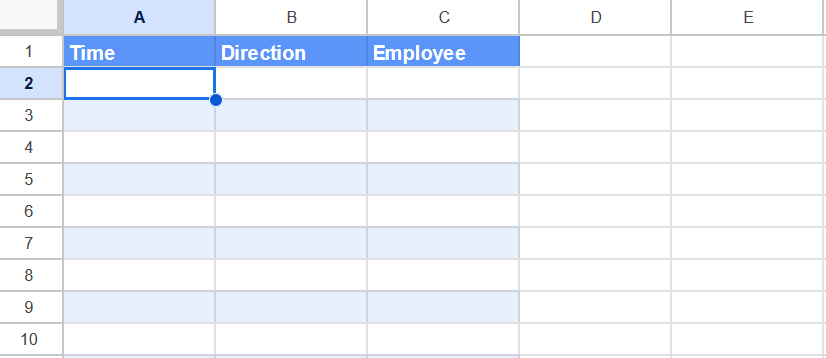
This example keeps it simple, but you can expand it with more detailed site information later.
Ensure that your file’s regional settings, especially the time zone, are correctly configured under File/Settings.
Configuring Ubiqod for Clock In and Out
Log into your Ubiqod account.
Creating an INTERFACE.
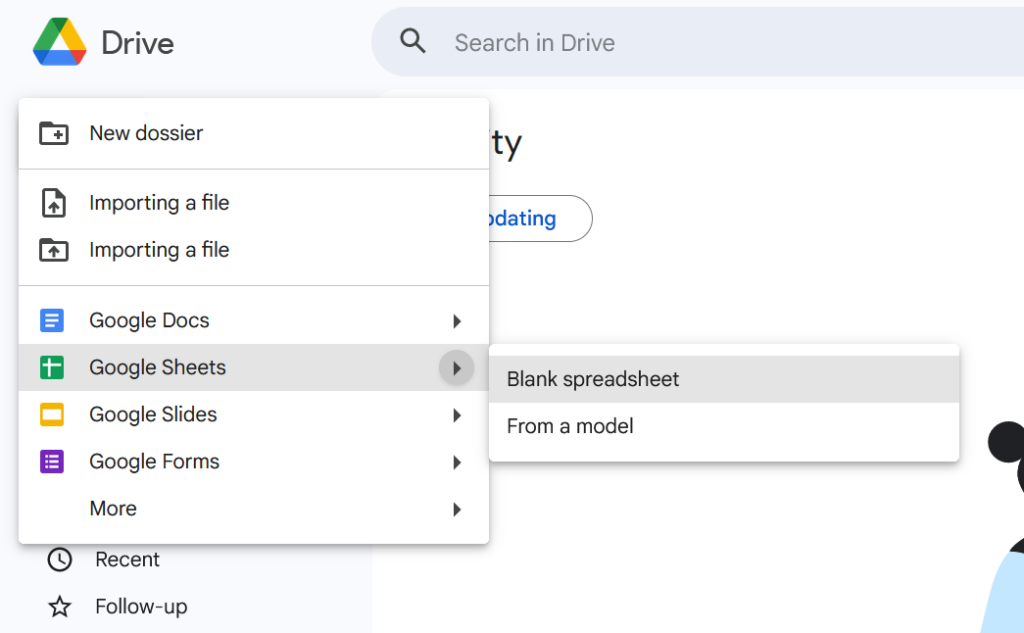
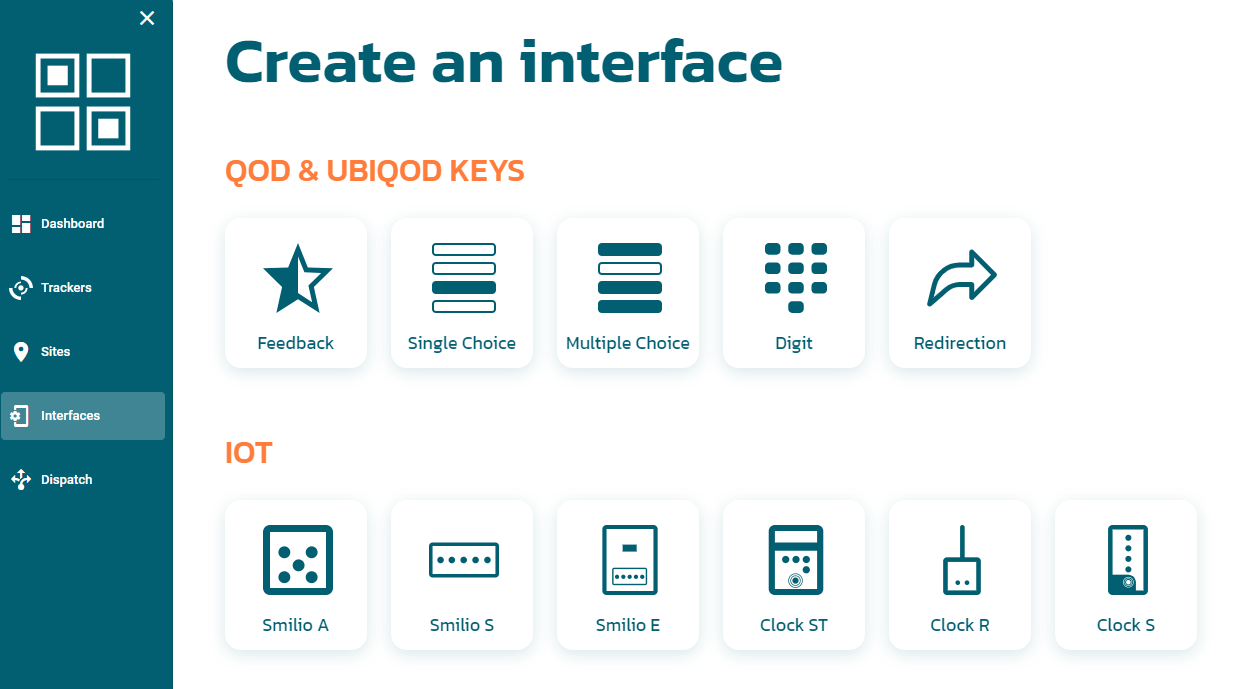
Navigate to the Interfaces section to design the webpage your workers will see after scanning a QR code.
Click on CREATE and select Single Choice for the interface type:
Fill out the form, naming the interface (For this tutorial, we call it “Clocks IN/OUT Interface”) and adjusting settings:
In the GENERAL OPTIONS tab:
Fill in an instruction that your worker will see below the title
Enable the display of the tracker name on the web page
Enable Protect by PIN code
[Optional] Enable Use scan mode if you want to use QR code badges instead of PIN code to identify your worker (this is an advanced feature that required the use of a PIN code list)
[Optional] Activate “Remember the PIN code”. This option stores the employee’s PIN code on his smartphone for X days (in the example below, 7 days) to make it easier for him to clock in and out. After 7 days, when he wants to clock in, he will have to re-enter his PIN code.
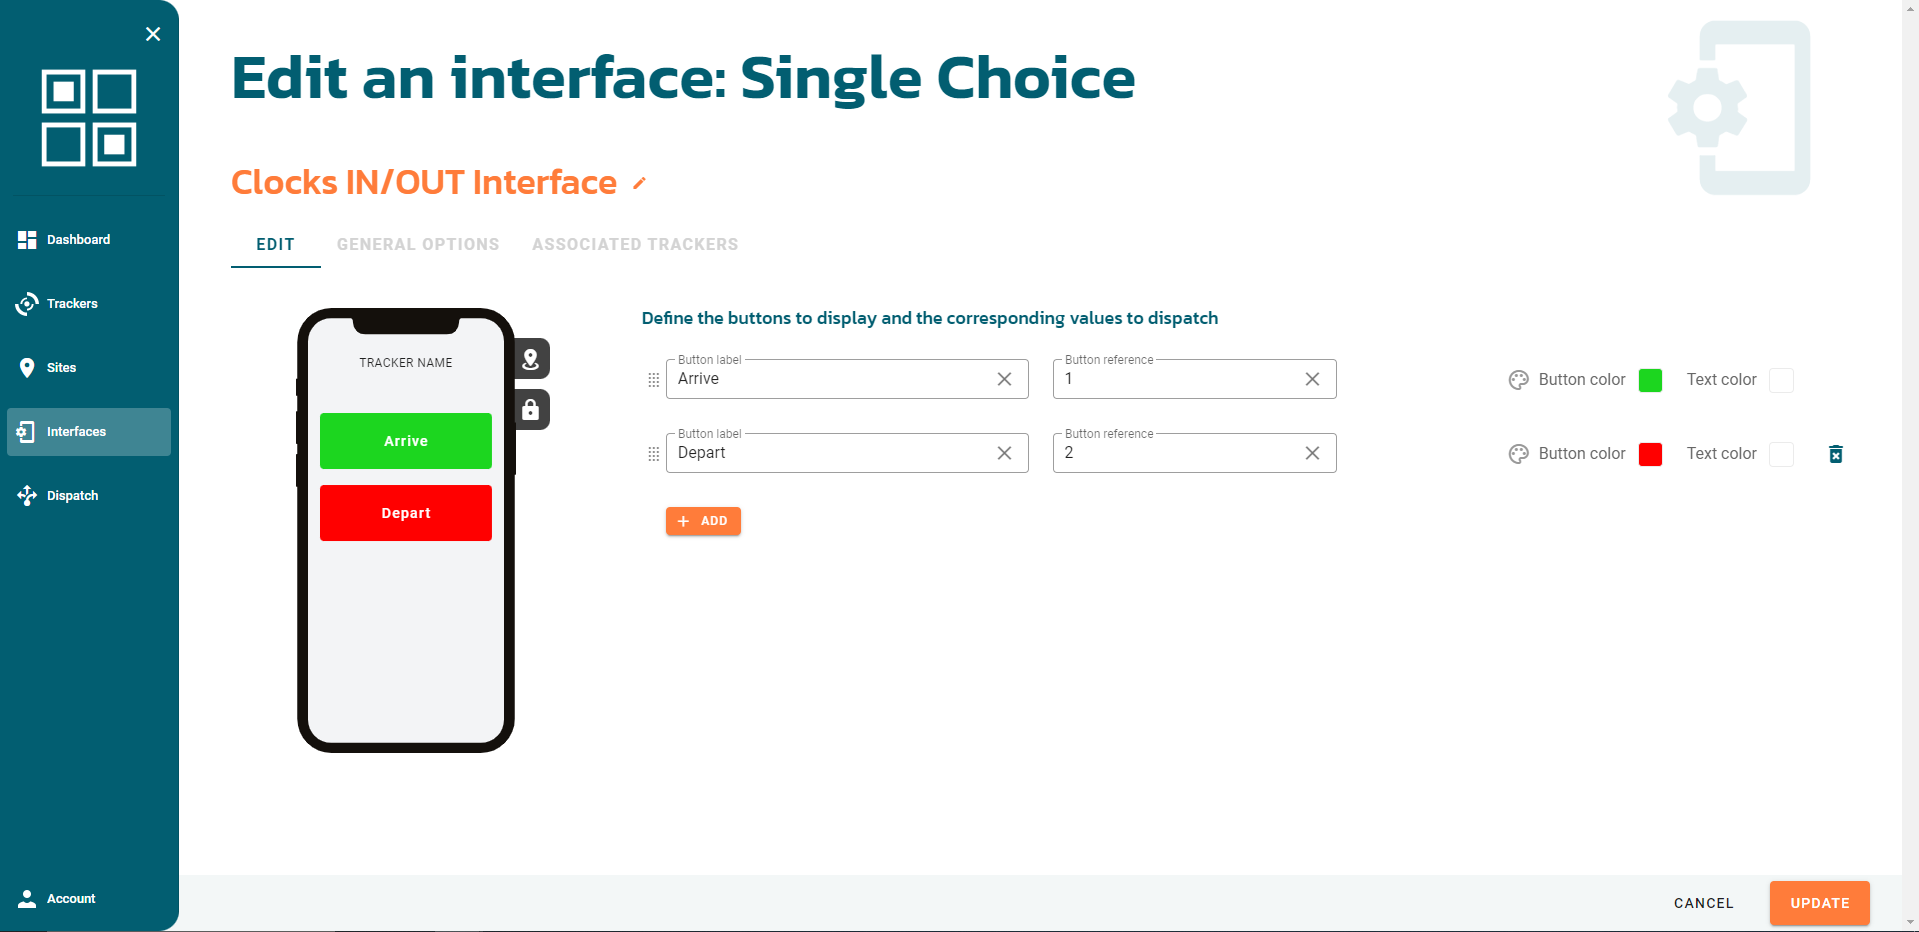
In the EDIT tab, Add 2 buttons:
label: Arrive / reference : 1
label: Depart / reference : 2
When everything is setup and ready, click on CREATE.
Creating a DISPATCH
The dispatch will tell Ubiqod to send data to the Google Timesheet we created in the previous section.
Go to the Dispatch section. and click on the CREATE button.
Create a new Google Sheets dispatch.
Name the dispatch (field Label). For this tutorial, we call it “Clocks IN/OUT Dispatch”.
If you connect your Google Account for the first time, click on the + sign on the right of the “Select a Google Sheets Connection”.
Give a name to this connection and click on “Sign in with Google”:
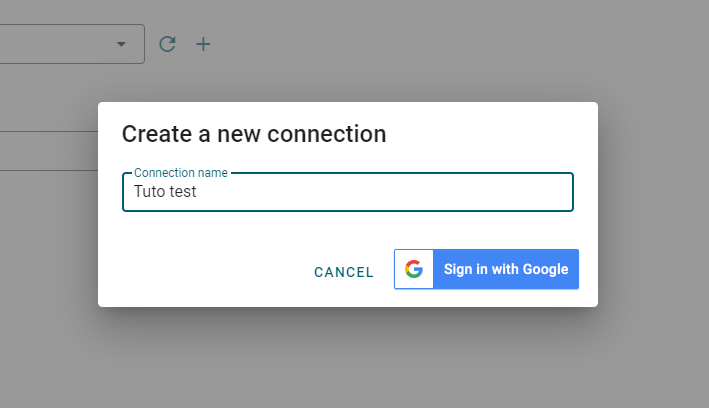
Sign in to your Google Account (if you haven’t already done so) and agree to the terms of use.
Copy the url of the spreadsheet created in the previous section and paste it into the URL field of the dispatch.
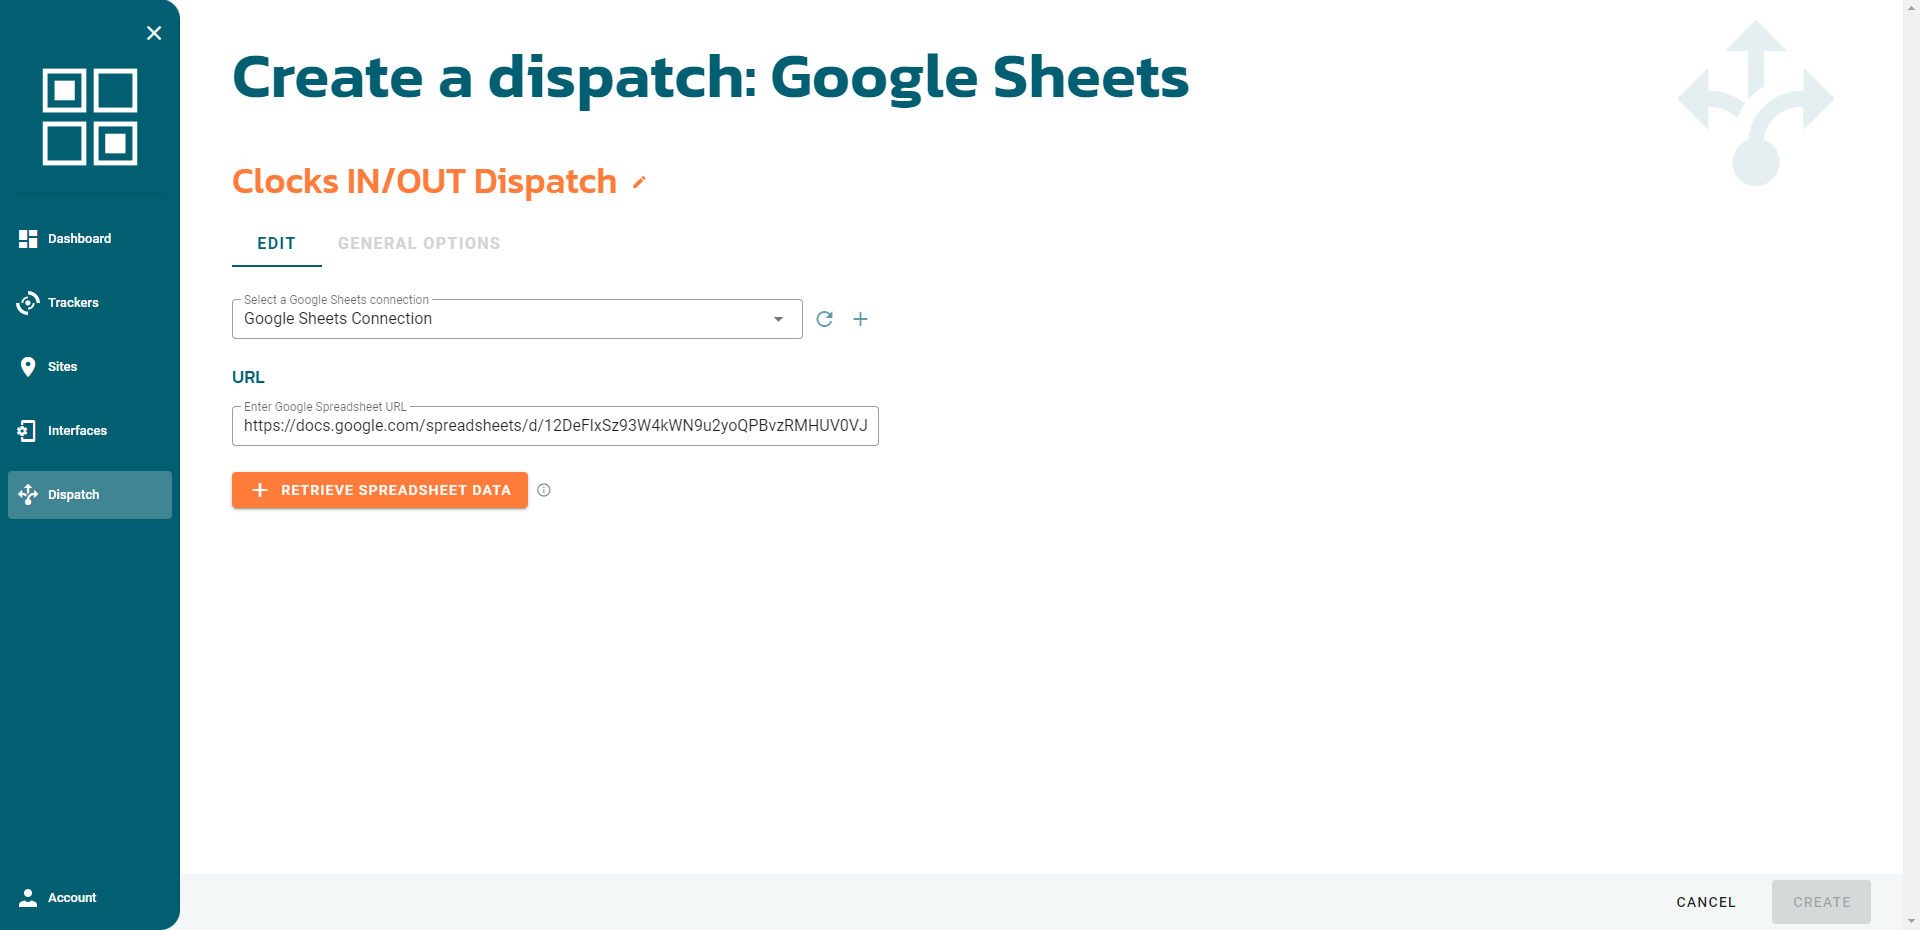
Click on RETRIEVE SPREADSHEET DATA.
Select a sheet and map the columns with the following fields:
Time column: Timestamp
Direction column: Data label
Employee column: Code label
Click on CREATE.
Creating a Tracker (standard QR codes)
On the Ubiqod platform, you can create your own standard QR codes and print it afterwards. A standard QR code is called a QOD tracker.
Go to the Trackers section, choose the QOD tab. Click on the + CODE button.
Name the tracker (field Label). For this tutorial, we call it “Timekeeping”.
Now, you can assign:
your “Clocks IN/OUT Interface”
your dispatch “Clocks IN/OUT Dispatch”
Click on CREATE.
Testing your Google Timesheet
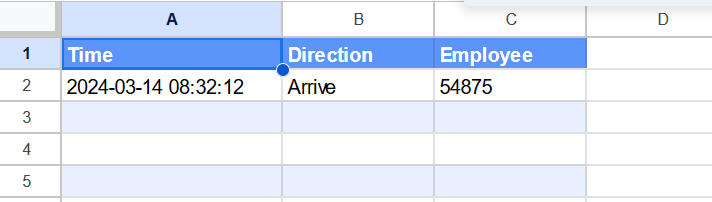
In the tracker section, scan the QR code and press the “Arrive” button. Enter a fake employee code (for instance 54875).
You should see a new line in your Google Timesheet file:
Further Possibilities
Geolocation of workers
You can add geolocation and/or geo fencing features and generate a Google Maps link in your spreadsheets.
Mobile Device Binding
Mobile Device Binding is a feature that securely associates a user’s identity with a specific mobile device. When mobile device binding is implemented, the system typically requires a PIN code or a QR code badge and retains the association acording to the configuration.
Random Picture Verification
To verify the identity of individuals on-site, utilize our feature that captures random photos. For an implementation example, follow the integration with Google Sheets tutorial.
Integration with other systems
While Google Sheets is an excellent start for data collection, Ubiqod’s flexibility allows for easy integration with dedicated systems like Clockify or cloud timesheet software through platforms like Make.