How to create timesheet automatically to My Hours with Zapier?
Connect Ubiqod to My Hours with Zapier
Zapier is a no-code platform that enables users to connect various IT systems to automate tasks (known as Zaps). Ubiqod offers a built-in Zapier connector.
My Hours is a timesheet app offering a generous free plan for employee time management.
In this tutorial, you’ll learn how to send data received by your Ubiqod to My Hours in real time using the Zapier connector.
Generate the Zap with the Built-in AI
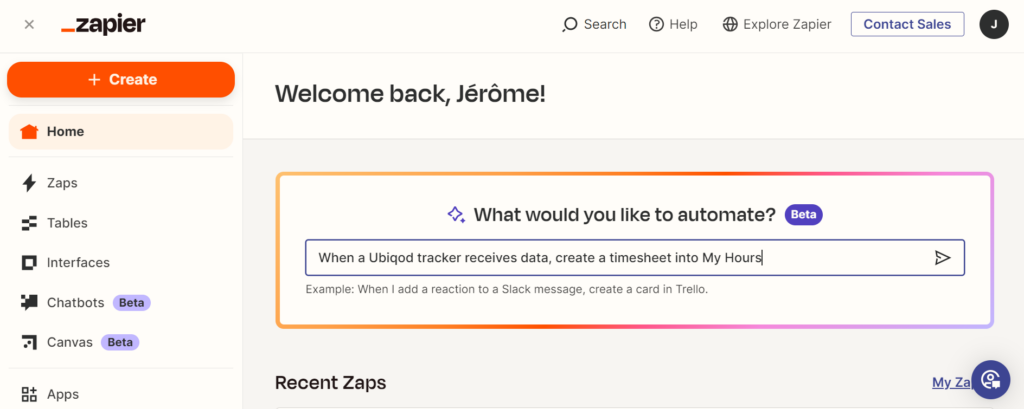
When creating a Zap in Zapier, utilize the “What would you like to automate?” feature. This allows you to specify your automation goal in natural language.
For example, let’s input: “When a Ubiqod tracker receives data, create a timesheet in My Hours”:
As you can see, the AI correctly suggests the following Zap:
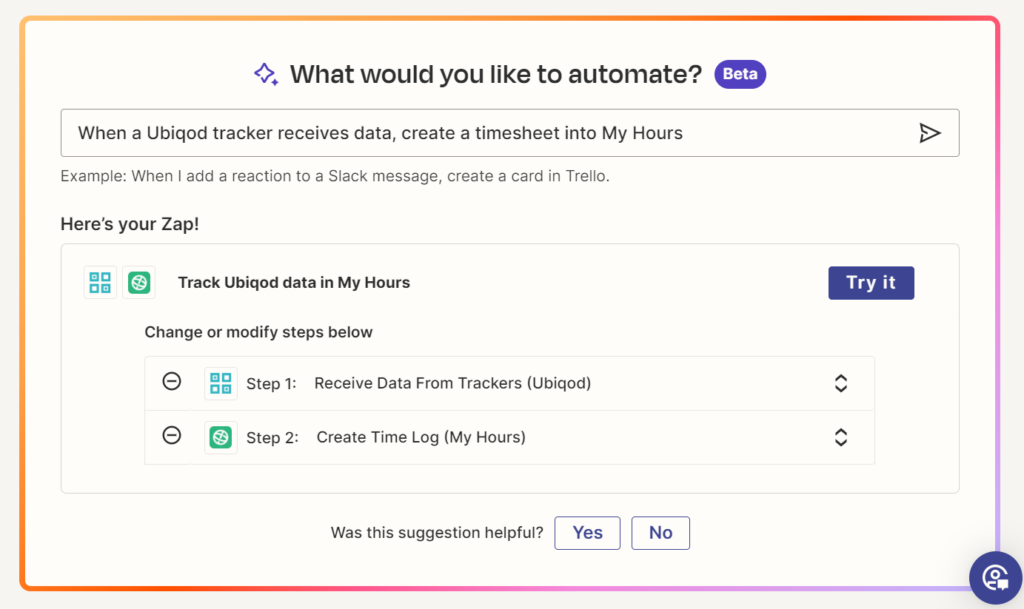
Click on “Try it”.
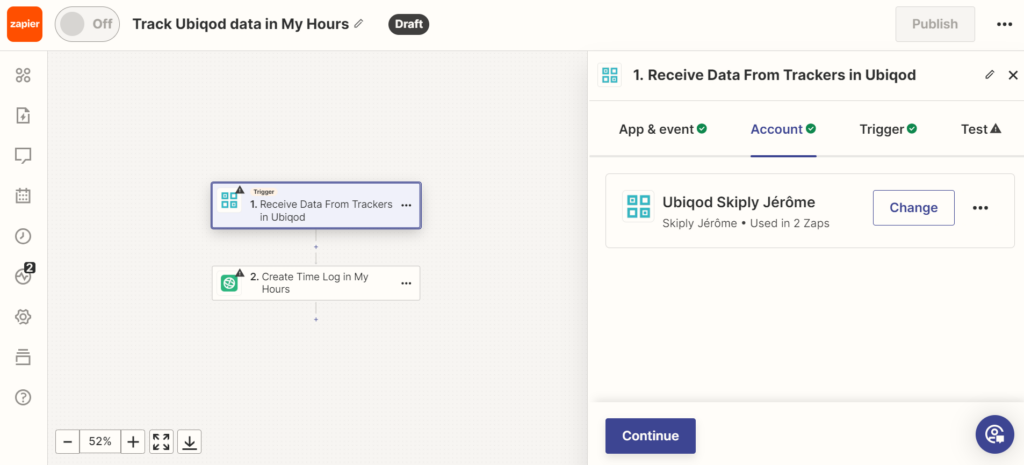
Now, you should configure the trigger (Ubiqod) and the action (My Hours):
Configure your Zap
Create a Zapier Dispatch in Ubiqod
Firstly, in Ubiqod, create a Zapier dispatch and then return to Zapier.
You may also link a tracker to this dispatch at this step or do it later.
Configure the Ubiqod trigger in Zapier
As usual, you’ll need to provide a Ubiqod API key to connect your Ubiqod account with Zapier.
Select the dispatch you created earlier.
Map the Dynamic Fields in Zapier
Fill in the date and start time fields using the timestamp field provided by Ubiqod.
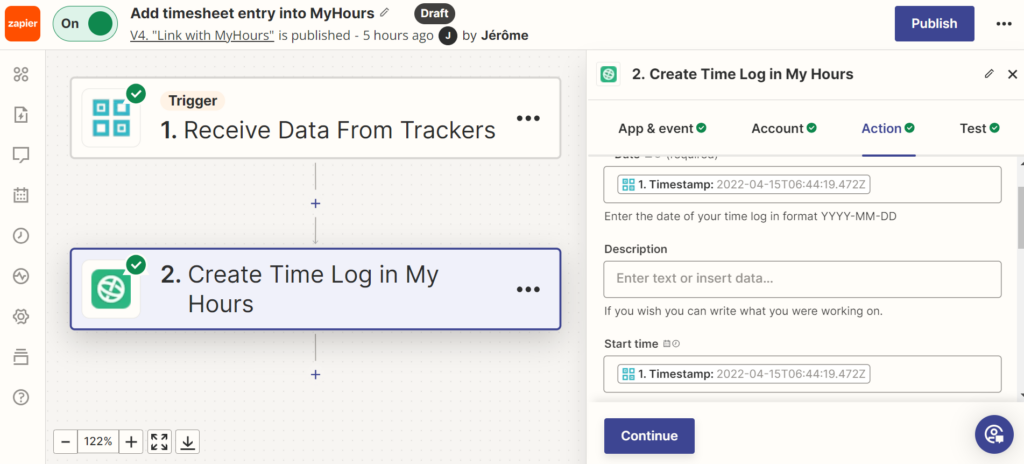
For demonstration purposes, we will create a timesheet that uses a fixed duration of one hour and always assigns the same task. However, you can customize the Zap according to your needs by using the available fields, conditional paths, or external references.
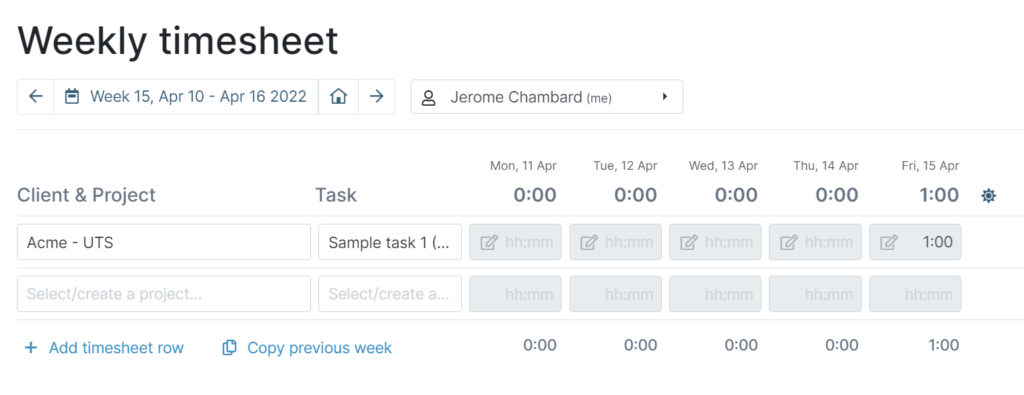
Test your Zap
Create a QR code tracker with a single choice interface and your Zapier dispatch.
Scan the tracker code and check the result. You should see a new entry in your My Hours account: